Stringing Guide 1. Remove all the old strings 2. Make sure to tape down the bridge saddle so it doesn’t move 3. Remove string back plate (if you have one) 4. Start with unpacking the E (lowest) string (and next time around the A and so on…) 5. Check and see if any metal washersFortsätt läsa ”How I put on a new set of round wound strings on a solid body ubass”
Etikettarkiv:tips and tricks
Build your own solid body Ubass – all you need to know | Phase 2 – Body Setup 1
Hi, It’s time for Phase 2! It will focus on the setup of the body and first up is strap buttons and thumb wheels for the bridge. The PDF instructions I compiled from info at kalabrand.com (no longer available) can be downloaded on this link: U-Bass Kit Assembly Instructions compiled by playubass-SMALL Next up: EQ/Pre-amp,Fortsätt läsa ”Build your own solid body Ubass – all you need to know | Phase 2 – Body Setup 1”
Ubass Cases: Different options for the acoustic/electric Ubass
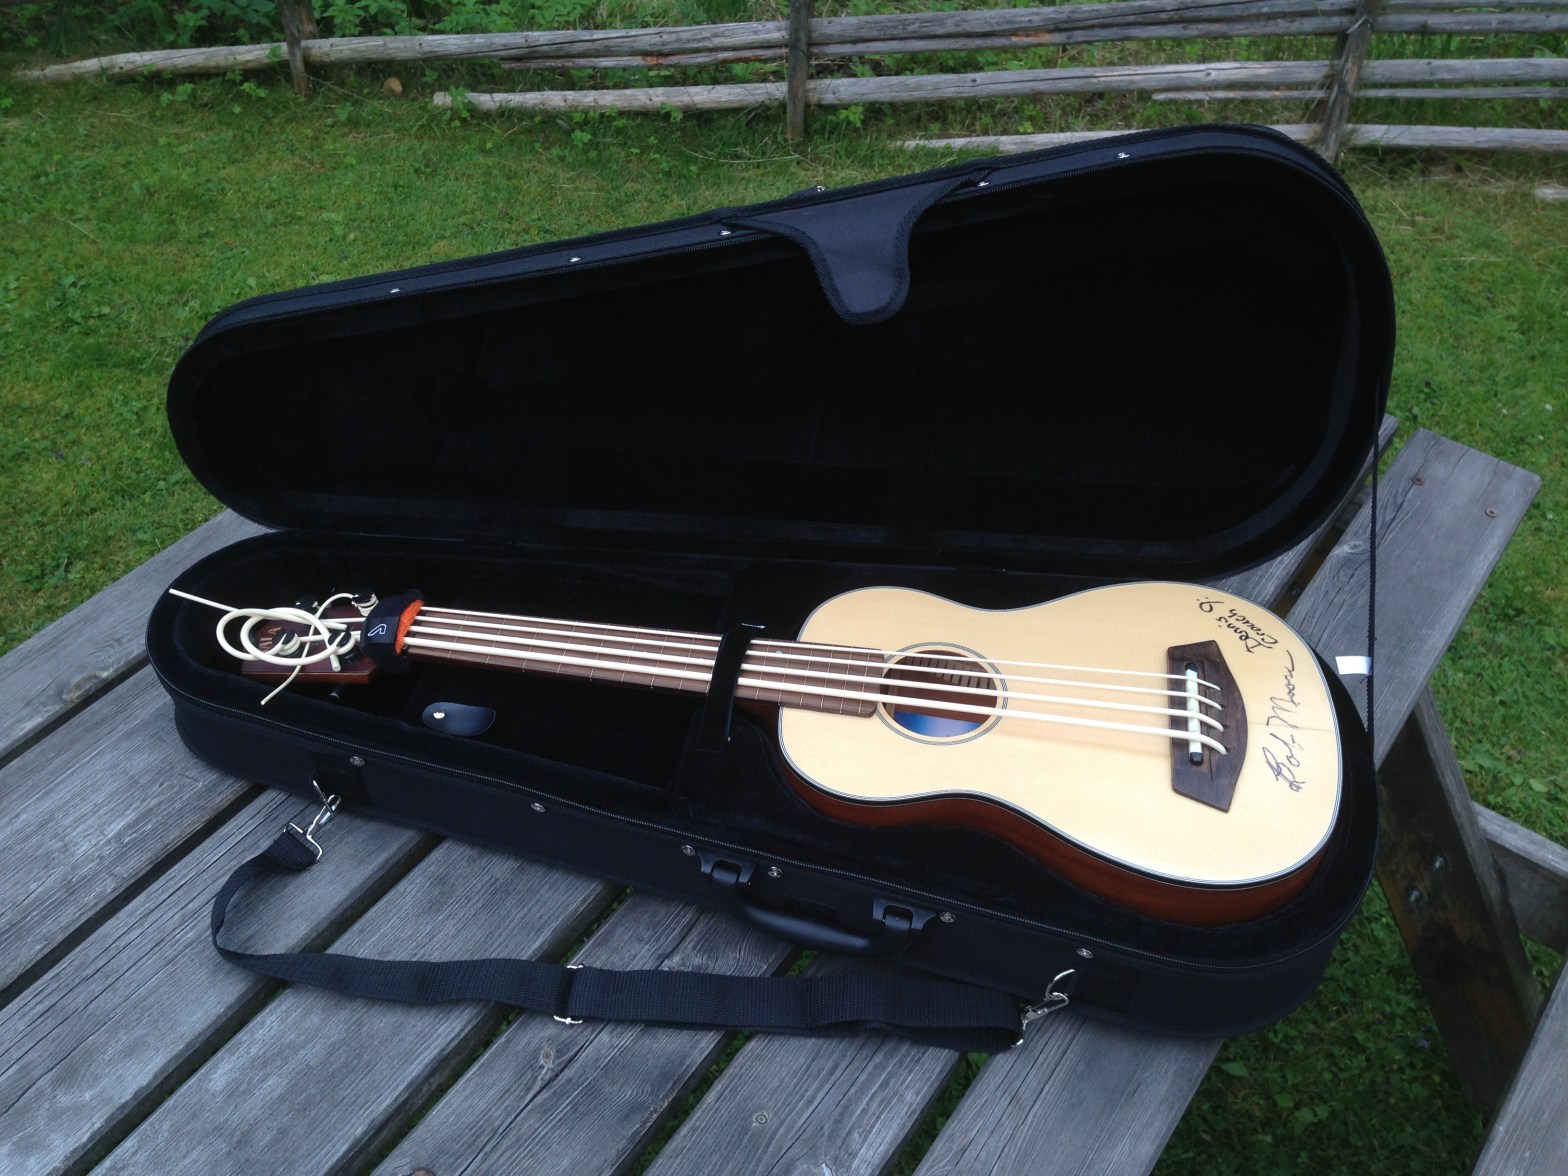
Hi! If you want to get a new case for your acoustic/electric UBass there are a few options. You can read about some of the options here at kalaukulele.com Besides these very nice hard cases you can also use the case designed for the Baritone Ukulele! You can find it here. I’ve used one ofFortsätt läsa ”Ubass Cases: Different options for the acoustic/electric Ubass”
Tips and tricks: Maintenance – tighten the output jack
Hi! Here’s a little quick tip for every Ubassist that plays any of the acoustic/electric models. If you use a strap the output jack can sometimes unscrew itself and become loose. To avoid further problem it’s important to solve this problem quickly. If not you can run into more serous problems with the output jackFortsätt läsa ”Tips and tricks: Maintenance – tighten the output jack”
Q&A: Playing Fretless UBass? Here’s some tips for you!
Hi! I got a question about my view on playing in (or out of) tune on the fretless UBass. I decided to share my answer with all of you. Q: Do you find that you’re fingering in between frets rather than directly on the fretline like you would with a regular fretless bass? A: SorryFortsätt läsa ”Q&A: Playing Fretless UBass? Here’s some tips for you!”
